We are a full-service appliance repair & installation service provider in GTA who works with complete transparency because we prioritize customer delight. Our affordable, quick, and reliable services aim to make your experience hassle-free.
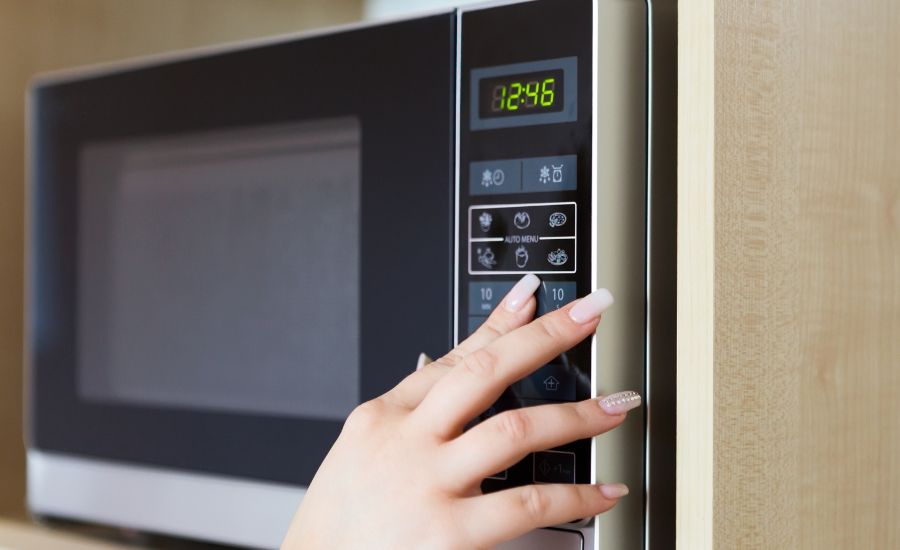
Check the Power Supply: Ensure the microwave is plugged in and there is a proper power supply.
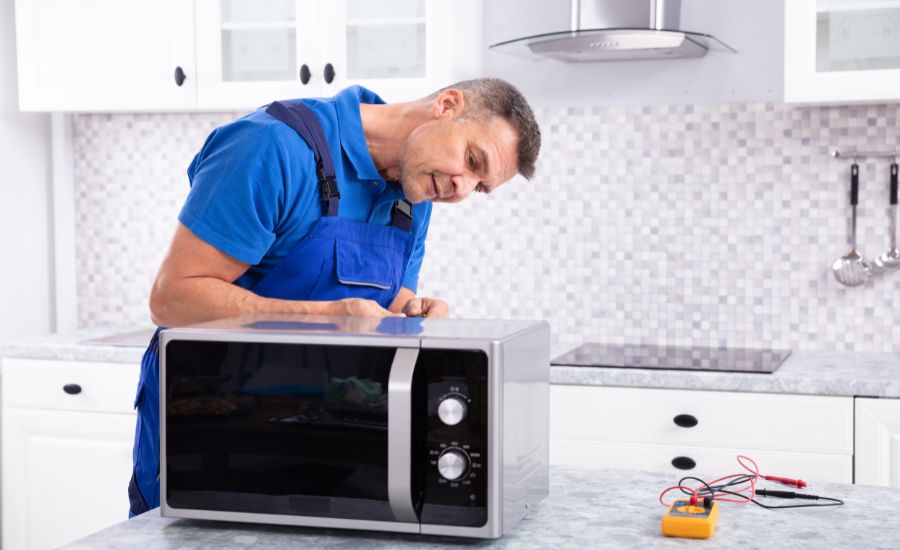
Inspect the Magnetron: Magnetron produces the microwave’s heat, and if it turns faulty, your microwave may not heat the food properly. Check it using a multimeter and replace it if it’s defective.
Test the High Voltage Diode: The high voltage diode powers the magnetron. Ensure it’s in good condition and replace it if required.
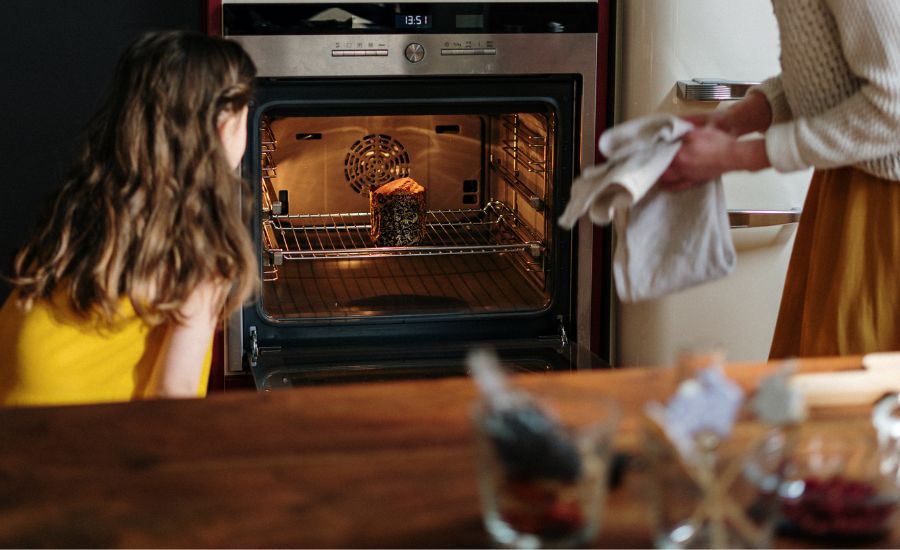
Microwave Not Turning On
Check the Door Switches: Inspect the door switches to check if they are damaged or faulty.
Examine the Thermal Fuse: The thermal fuse is a safety device that cuts off power if the oven overheats. Use the multimeter to check for its continuity and replace it if it’s blown.
Check the Control Board: A defective control board can be responsible for the microwave not turning on. If there are any signs of damage or fault, get it replaced.
Microwave Display Not Working
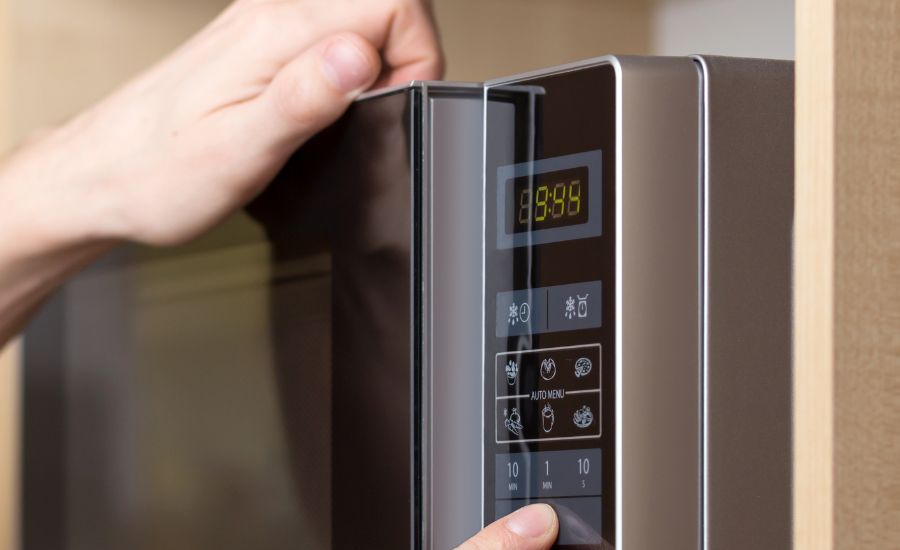
Check the Display Panel Connections: Check the connection between the display panel and the control board to reconnect or replace the faulty wires.
Inspect the Display Board: The display board may be faulty. You can check that using a multimeter and replace it if necessary.
Test the Control Board: A malfunctioning control board can also affect the display board. Check its condition and replace it if necessary.
Microwave Making Unusual Noise
Check for Loose Items: Check the interior of the microwave for loose objects making a rattling or banging noise.
Inspect the Turntable Motor: Noisy microwave operation can also be caused by a faulty turntable motor. Check for any signs of damage and replace it.
Check for Loose Components: Loose components, such as bolts, screws, or panels, can be causing the noise. Check and tighten them to prevent noise from occurring.